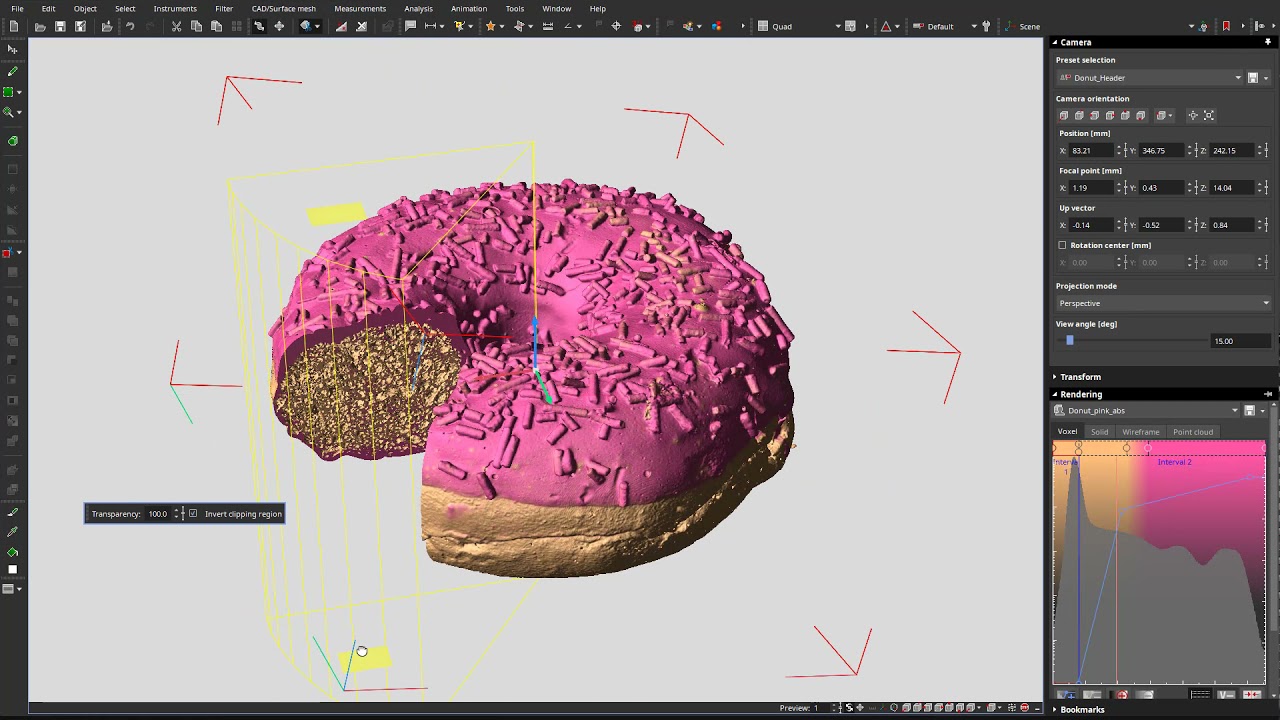
We often use CT to peek inside cylindrical objects, like pipes, battery cells, rods, and drill cores. And cakes.
Contrary to popular belief, you can have your (virtual) cake and eat it, too. The question is, do you prefer the speed of clipping tools or the wide range of possibilities that come with ROIs?
What about both?
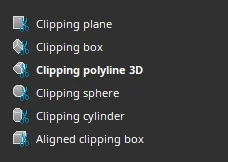
Available clipping tools in VGSTUDIO MAX


Clipping is perfect for slicing and dicing, which makes it the ideal tool to look inside an object or cut parts of it away. As it doesn't require any calculations, it is fast and gives you real-time feedback. This makes it ideal for animations and quick graphics.
A clipping object is only as powerful as what it's cutting. If it is part of an object, it will only affect that object. That said, if we thrust directly into the scene, it will cut into all objects in the scene.

A second on your lips... Even virtually, no crumb is left unturned.
Clipping Planes
There are two sides to a clipping plane. On one side, the object remains the same, but on the other, it is set to transparent (by default: 100%).
If you combine multiple clipping planes, you can create some magic.
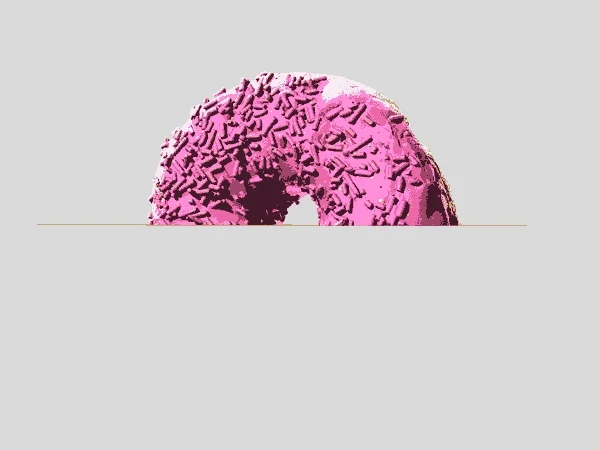
This is as far as you get with one clipping plane.

This is what two clipping planes can do (one is animated, the other one is fixed to the spot).
No matter how you spin it, two clipping planes will never be enough to take the (full) cake!

We duplicated the donut with the two clipping planes and assigned a blue color to the duplicate to distinguish better between them. Then we animated the clipping planes by using the original donut for one half and the blue donut for the other. This gives us more control over the overall object.
Clipping Polyline 3D
The clipping polyline 3D is arguably one of the most underestimated tools in VGSTUDIO MAX, even or especially because of its simple appearance.
The idea behind it is simple: just draw an outline of the area you want to clip in the 3D window. The object extends from the viewer's eye (i.e., the camera position at the time of creation), along the viewing axis, and into the depth of 3D space. The viewing angle of the camera determines how much the shape spreads out in depth, such as 30° or 40°. If "parallel" is used as the projection mode (i.e., an isometric 3D view), the resulting edges of the 3D object will also be parallel.
The clipping polyline 3D is similar to its segmentation counterpart, but it differs in a couple of (headache-saving) ways:
- There is no need for a computationally intensive process. The moment we confirm the shape, the process is complete, and work can continue.
- In practice, the resulting shape remains editable in 3D—if not in shape of the outline, at least in depth. This makes it possible to intuitively remove or reveal parts of the data set in the 3D window.
And don't forget: If the requirements do increase and there is no way around segmentation, it's not game over. You can always create an ROI from the clipping object to benefit from the wide possibilities of segmentation.
Tips & Tricks: Parallel Projection
As seen in the video, we can select "parallel" projection mode in the camera tool in the 3D view to avoid any perspective distortion. Then we can use the clipping polyline 3D to draw the perfect piece of cake.
When we are done, we can use both handles at the top and bottom to further customize the object.
To rotate the clipping object, just unlock it and set its center to the middle axis (when properly registered, we can use the origin: XYZ 0,0,0). Then select and change the z-value to spin it around the vertical axis.
Clipping Cylinder
Cylindrical data, cylindrical clipping. Sounds logical, right?
It is definitely an easy way to cut things like tunnels and keyholes into an object. In our case, it's the perfect way to take clean, effortless bites out of our donut.
For added realism, use that clipping polyline 3D to carve out a custom bite. Give your guests something they can really sink their teeth into!
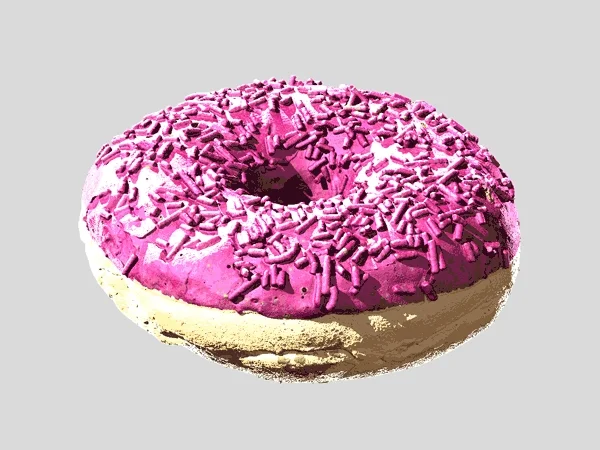
Create a clipping cylinder for the first bite. Then copy, paste, and move it around until the donut is gone. But leave a bit for the next guy.
"I cut, you pick."
If we want to make some complex cuts, create custom color schemes, or just play around with animation, we can take advantage of the precision that segmentation tools have to offer.
That said, let's make some animation magic! Let's say we want to cut the donut into six parts and hand out each piece. We can quickly do that by creating six triangular ROIs in the 3D view. With the polyline 3D, it's as easy as pie.
We can also make a super precise ROI that can be copied and pasted five times using the "paste pattern of ROIs" option, each time turning the donut by 60°. This creates six equal pieces, so no one can complain that they've gotten the short end of the stick—or in this case, the smallest piece of the pie.
To give each guest a piece, we just need to extract the ROIs.
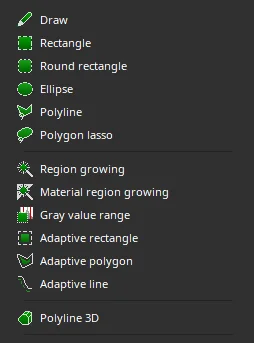
Range of segmentation tools. Individually powerful, collectively unstoppable
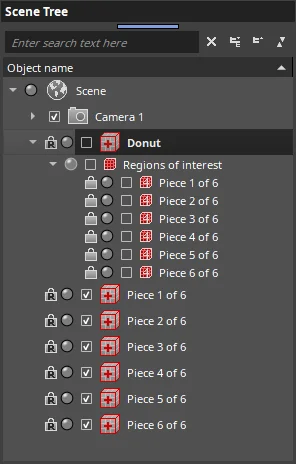
Create six ROIs and extract each one to make them ready for animation

Six ROIs were used in this animation. Did you notice that one piece doesn't quite disappear?

The same six ROIs have been extracted and used for a quick exploded view.
Don't Know Where to Cut?
Maybe the rotation view can be of help.
All we have to do is set an axis around which we can rotate the view. A yellow navigation plane in the 3D view marks the exact position of the current cross-section and helps you find your bearings in the data set.


Did we miss something? Or do you have an easier or more appealing way to cut the cake? Let us know!
Ready to Learn More?
Users of VGSTUDIO MAX can find out more about clipping tools, segmentation tools, and animation in the tutorials included in the software.
Got a Story?
If you have a VG Story to tell, let us know! Contact our Storyteller Team at: storytellers@volumegraphics.com. We look forward to hearing from you.

